

Match your refresh rate to your game type
Choosing the Best Refresh Rates for Gaming isn't about picking the highest number on the box. It is about aligning the monitor's frame output with the specific demands of the games you play. A competitive shooter player and a casual RPG enthusiast need entirely different hardware profiles to get the most out of their setup.
The following comparison breaks down the three primary tiers. Use this to identify which category fits your primary gaming habits before checking your GPU capabilities.
| Refresh Rate | Best For | Input Latency | GPU Demand |
|---|---|---|---|
| 60Hz | Casual, RPG, Strategy | Standard | Low |
| 144Hz | Most Competitive Games | Low | Medium |
| 240Hz+ | Pro Competitive Shooters | Ultra-Low | High |
60Hz: The Casual Standard
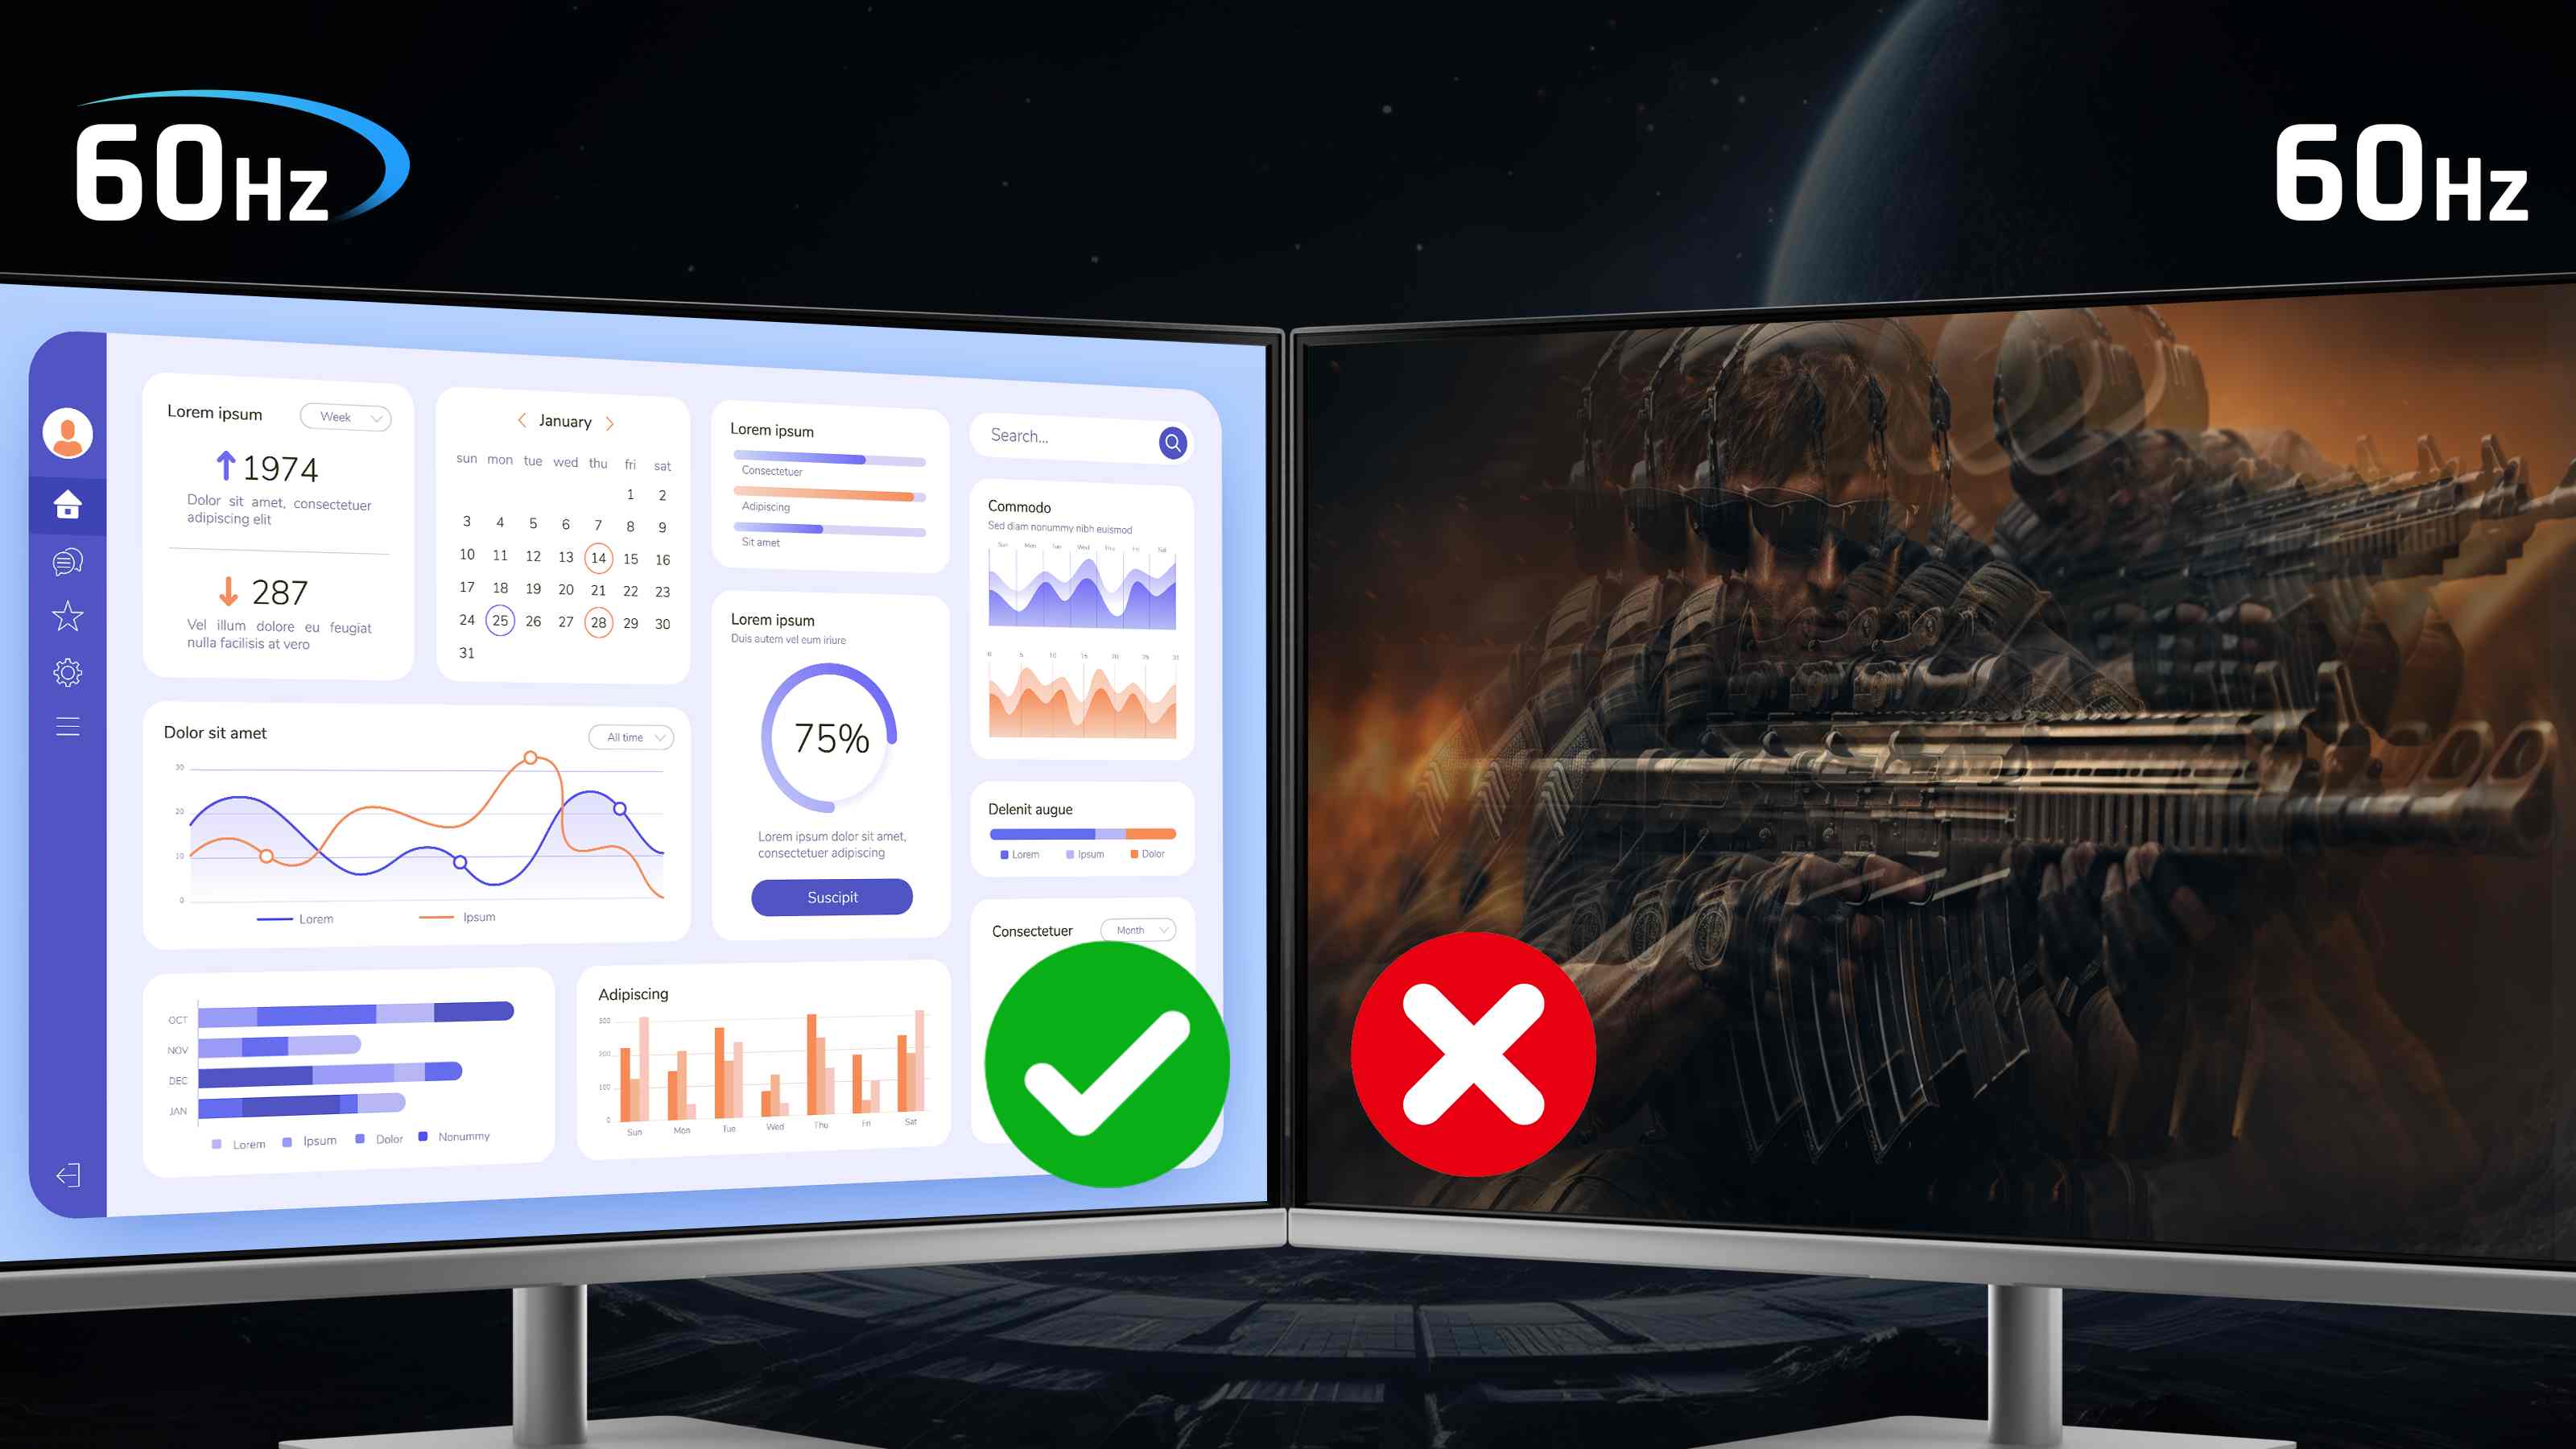
Sixty hertz remains the baseline for everyday computing and casual gaming. If your library consists of turn-based strategy games, narrative-driven RPGs, or slower-paced simulation titles, 60Hz provides a smooth experience without breaking the bank. You won't feel the motion blur in these genres, and your GPU will easily maintain high frame rates, leaving headroom for other tasks.
144Hz: The Sweet Spot
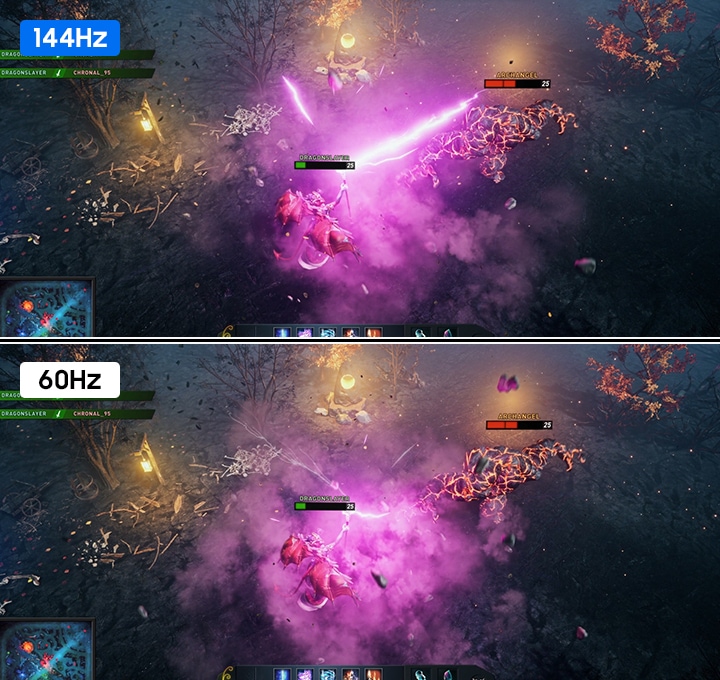
For most gamers, 144Hz is the ideal compromise between performance and price. This refresh rate significantly reduces motion blur in fast-paced shooters and racing games, making tracking enemies or navigating curves much easier. It is the "Best Refresh Rates for Gaming" benchmark for the average enthusiast, offering a noticeable upgrade over 60Hz without requiring an extreme-end graphics card.
240Hz+: The Competitive Edge
Professional players in titles like Counter-Strike 2 or Valorant often push for 240Hz, 360Hz, or even higher. The difference between 144Hz and 240Hz is subtle but critical at the highest levels of play, where milliseconds determine victory. This tier demands a powerful GPU to sustain high frame rates consistently and comes with a premium price tag. Only pursue this if you are actively competing or have a specific need for ultra-low latency.
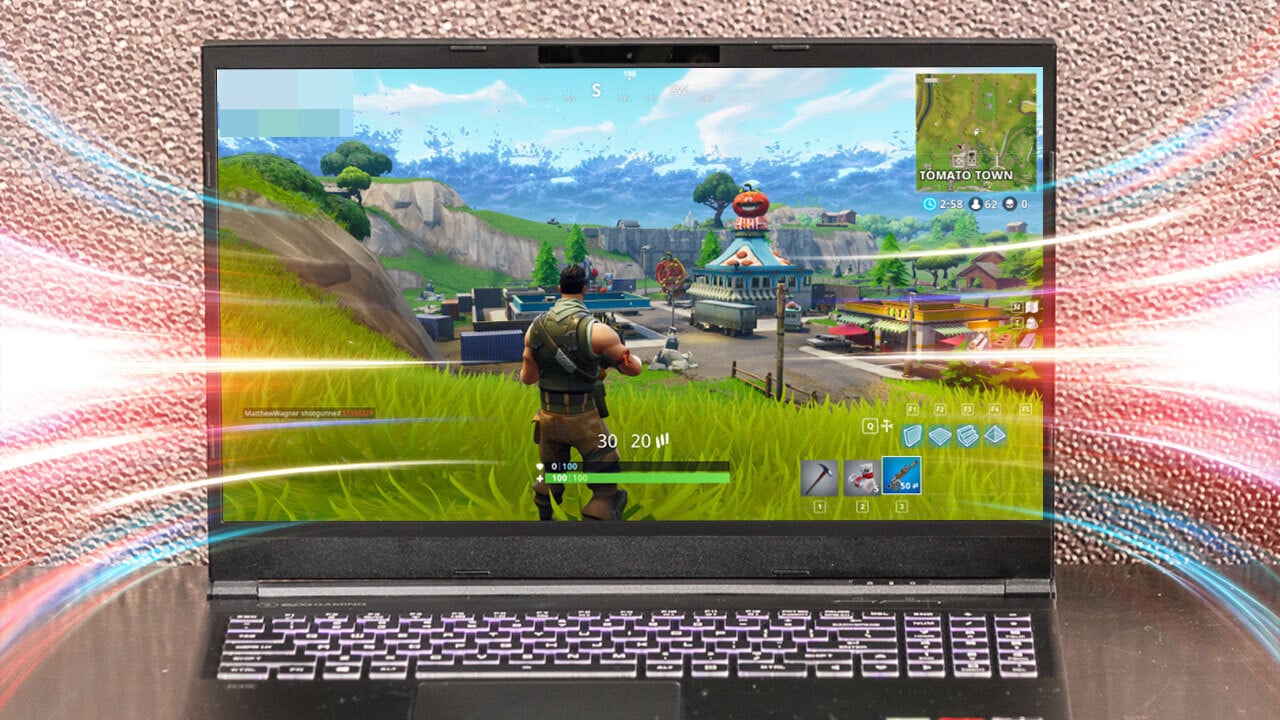
Once you have selected the right tier, ensure your system can actually drive those frames. Check your GPU's output capabilities, enable Variable Refresh Rate (VRR) to eliminate screen tearing, and purchase a monitor that matches your genre needs. Finally, optimize your in-game settings to balance visual fidelity with frame consistency.
Check if your GPU can drive the target FPS
A high refresh rate is useless if your hardware cannot generate enough frames per second (FPS) to fill it. Think of the refresh rate as a bucket and the FPS as the water flowing into it. If you buy a 240Hz monitor but your GPU only outputs 60 FPS, you are paying for empty space. The monitor will simply repeat the same frames, giving you no competitive advantage or smoother experience.
To get the most out of Best Refresh Rates for Gaming, your GPU must match the monitor's capabilities. If you are targeting 144Hz, you need a graphics card that can consistently push 144 FPS in your specific games. If the GPU struggles, the refresh rate becomes a bottleneck, leading to stuttering and input lag regardless of the monitor's specs.
Test your current setup by playing a graphically demanding game and checking the FPS counter. If your average FPS is significantly lower than your monitor's refresh rate, consider lowering in-game settings or upgrading your GPU. This ensures every frame is rendered efficiently, allowing the monitor to display fluid motion.
Enable VRR for smoother gameplay
When your FPS fluctuates, Variable Refresh Rate (VRR) technologies like G-Sync and FreeSync save the experience. These features sync the monitor's refresh rate with the GPU's output in real-time, eliminating screen tearing and stuttering even when frame rates drop.
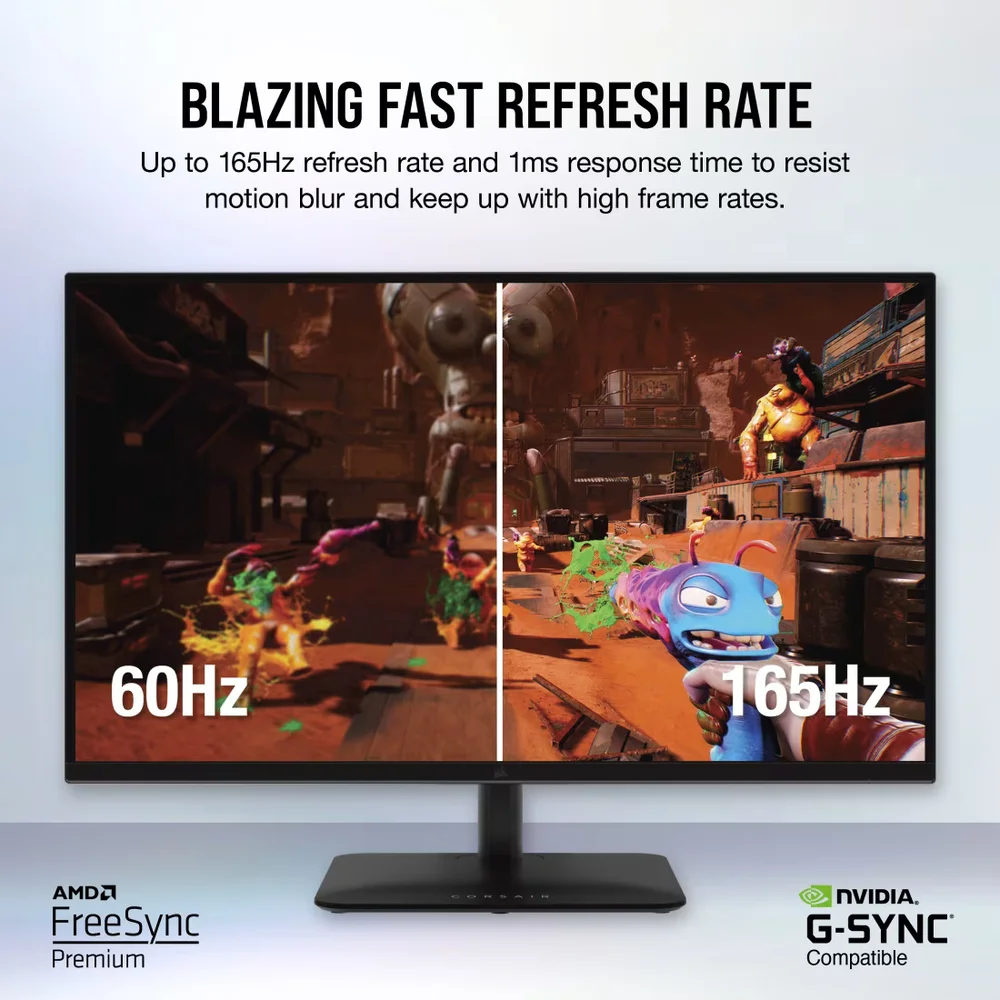
Verify that your graphics card and monitor both support a VRR standard. NVIDIA cards work with G-Sync or FreeSync Premium, while AMD cards support FreeSync. Check the manufacturer specifications for both devices to ensure they are compatible.
Access your monitor's on-screen display (OSD) menu. Navigate to the refresh rate or gaming settings section and toggle the VRR feature (G-Sync Compatible or FreeSync) to "On." Save the settings and exit the menu.
Open your NVIDIA Control Panel or AMD Software. Locate the "Set up G-Sync" or "FreeSync" section. Enable the feature for your specific monitor and ensure it is set to enable for windowed and full-screen modes. Apply the changes to complete the setup.
Enable variable refresh rate in your settings
Variable refresh rate (VRR) is the final piece of the puzzle for optimizing your gaming experience. Without it, your monitor and graphics card are out of sync, leading to screen tearing and stuttering that no amount of raw power can fix. Enabling VRR allows the monitor to dynamically adjust its refresh rate to match the frames your GPU is producing in real time. This is essential for maintaining smooth gameplay, especially in fast-paced titles where frame counts fluctuate.
To get the most out of your Best Refresh Rates for Gaming setup, you need to enable VRR on both the monitor side and the GPU side. The process differs slightly depending on whether you use NVIDIA or AMD hardware, but the goal is the same: create a bridge between your GPU's output and your display's input. Below are the steps to configure both systems.
Use the physical buttons on your monitor to open the OSD menu. Navigate to the System or Gaming section and look for a setting labeled FreeSync, Adaptive Sync, or VRR. Turn this setting to "On" or "Ultra." Some monitors may require you to set the refresh rate to a specific mode (like "Overdrive" or "Extreme") to enable VRR, so check your manual if the option is grayed out.
For NVIDIA users, right-click your desktop and select "NVIDIA Control Panel." In the left sidebar, go to "Display" and click "Set up G-SYNC." Check the box for "Enable G-SYNC, G-SYNC Compatible." Apply the changes. If you use GeForce Experience, you can also toggle G-SYNC on or off directly from the in-game overlay by pressing Alt+Z.
AMD users should right-click the desktop and open "AMD Software: Adrenalin Edition." Navigate to "Gaming" and then "Display." Look for "AMD FreeSync" and ensure it is enabled. You can also enable "Radeon Anti-Lag" here to reduce input latency, which pairs well with VRR for a smoother feel.
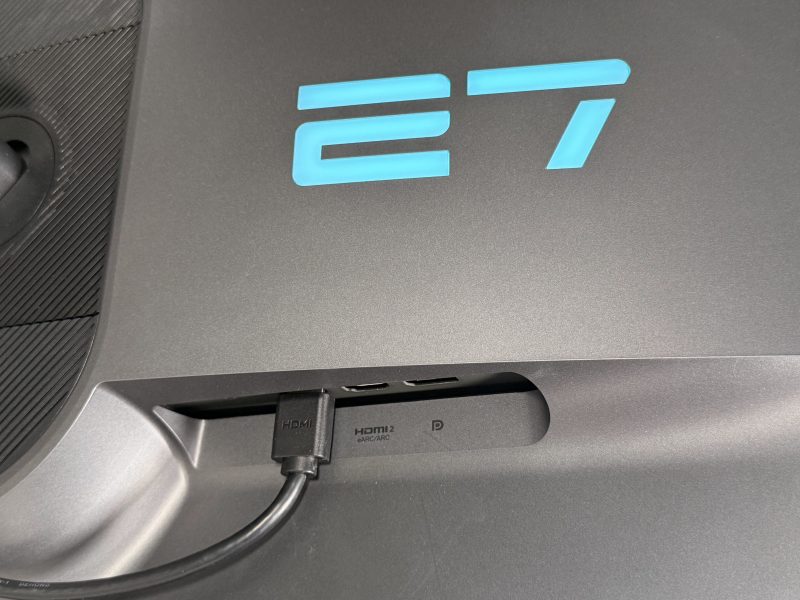
Ensure your cable supports the bandwidth required for your refresh rate. For 144Hz and above, DisplayPort is recommended for NVIDIA, while HDMI 2.1 is ideal for PS5/Xbox Series X and newer AMD setups. Launch a game with frame rate monitoring enabled (like MSI Afterburner) to confirm that the frame rate and refresh rate are tracking closely together without tearing.
Once VRR is active, you should notice a significant reduction in visual artifacts. This optimization ensures that every frame is displayed exactly when it’s ready, making your gaming setup feel more responsive and fluid. If you encounter issues, double-check that your GPU drivers are up to date and that your cable is securely connected to the correct port.
Pick a monitor with the right panel tech
Choosing the best refresh rates for gaming involves more than just picking a number. The panel type dictates how cleanly those frames render, especially during fast-paced action. IPS, VA, and OLED technologies each offer distinct trade-offs between response times and motion clarity.
IPS panels
IPS panels remain the standard for competitive gaming. They deliver wide viewing angles and accurate colors, but historically lagged in response speed. Modern high-end IPS models have largely closed this gap, offering 1ms GtG response times that minimize ghosting. They are a safe, versatile choice for most gamers.
VA panels
VA panels excel in contrast, producing deep blacks that enhance visual depth. However, they often suffer from "black smearing" in dark scenes. This occurs when dark pixels take longer to transition, creating a blurry trail behind moving objects. While improving, VA panels generally remain behind IPS and OLED in pure motion clarity.
OLED panels
OLED technology provides near-instantaneous pixel response times, eliminating motion blur entirely. This makes them the gold standard for fast-paced shooters and racing games. The trade-off is potential burn-in with static UI elements and a higher price point. For pure motion clarity, OLED is currently unmatched.
Verify your cable and connection bandwidth
Even the best gaming monitor will underperform if your cable becomes the bottleneck. To get the most out of your Best Refresh Rates for Gaming setup, you need to ensure the physical connection can handle the data throughput required for your target resolution and frame rate.
Think of your cable as a highway. If you’re trying to drive a high-speed sports car (4K at 144Hz) on a narrow dirt road (an old HDMI 1.4 cable), you’ll never reach your destination smoothly. Mismatched cables are the most common reason gamers experience black screens, flickering, or forced downgrades to 60Hz.
Check DisplayPort vs. HDMI versions
DisplayPort (DP) is generally preferred for PC gaming because it supports higher bandwidths and Variable Refresh Rate (VRR) more reliably than HDMI. If you are using a PC, always prioritize DisplayPort 1.4 or newer. For consoles like the PlayStation 5 or Xbox Series X, HDMI 2.1 is required to unlock 4K at 120Hz.
Match the cable to your GPU port
Look at the back of your graphics card and the monitor. Ensure you are using the highest version available on both ends. An HDMI 2.1 cable plugged into an HDMI 1.4 port will only run at the lower port’s speed. Check the small text printed on the cable jacket; it usually lists the version (e.g., "HDMI 2.1" or "VESA DP 1.4").
Inspect for physical damage
Frayed connectors or bent pins can cause intermittent signal loss. If you experience random blackouts during intense gaming sessions, swap the cable first before blaming your GPU or monitor settings. A secure, snug connection is essential for stable high-refresh performance.
Best Refresh Rates for Gaming Monitors
Choosing the right Best Refresh Rates for Gaming monitor depends on your GPU power and budget. High-refresh panels smooth out motion, but only if your system can push the frames. We recommend starting with a 144Hz or 240Hz IPS panel for competitive titles, or an OLED for the deepest blacks and fastest response times.

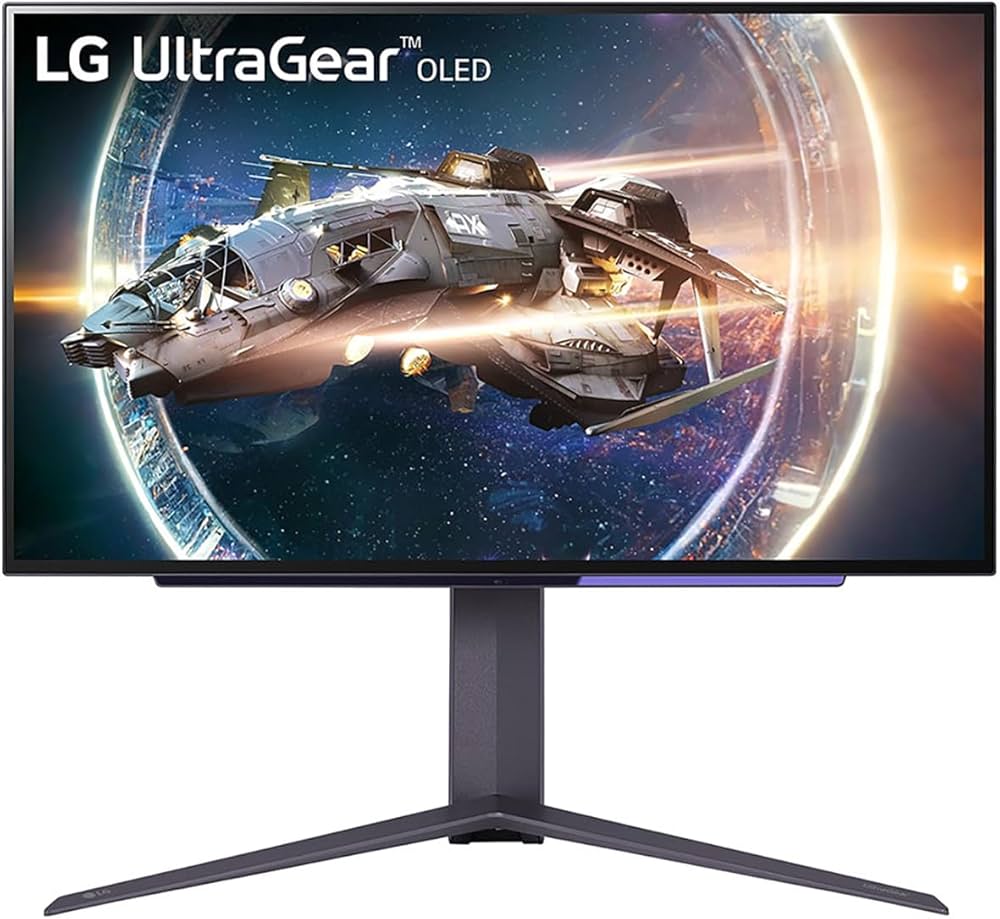
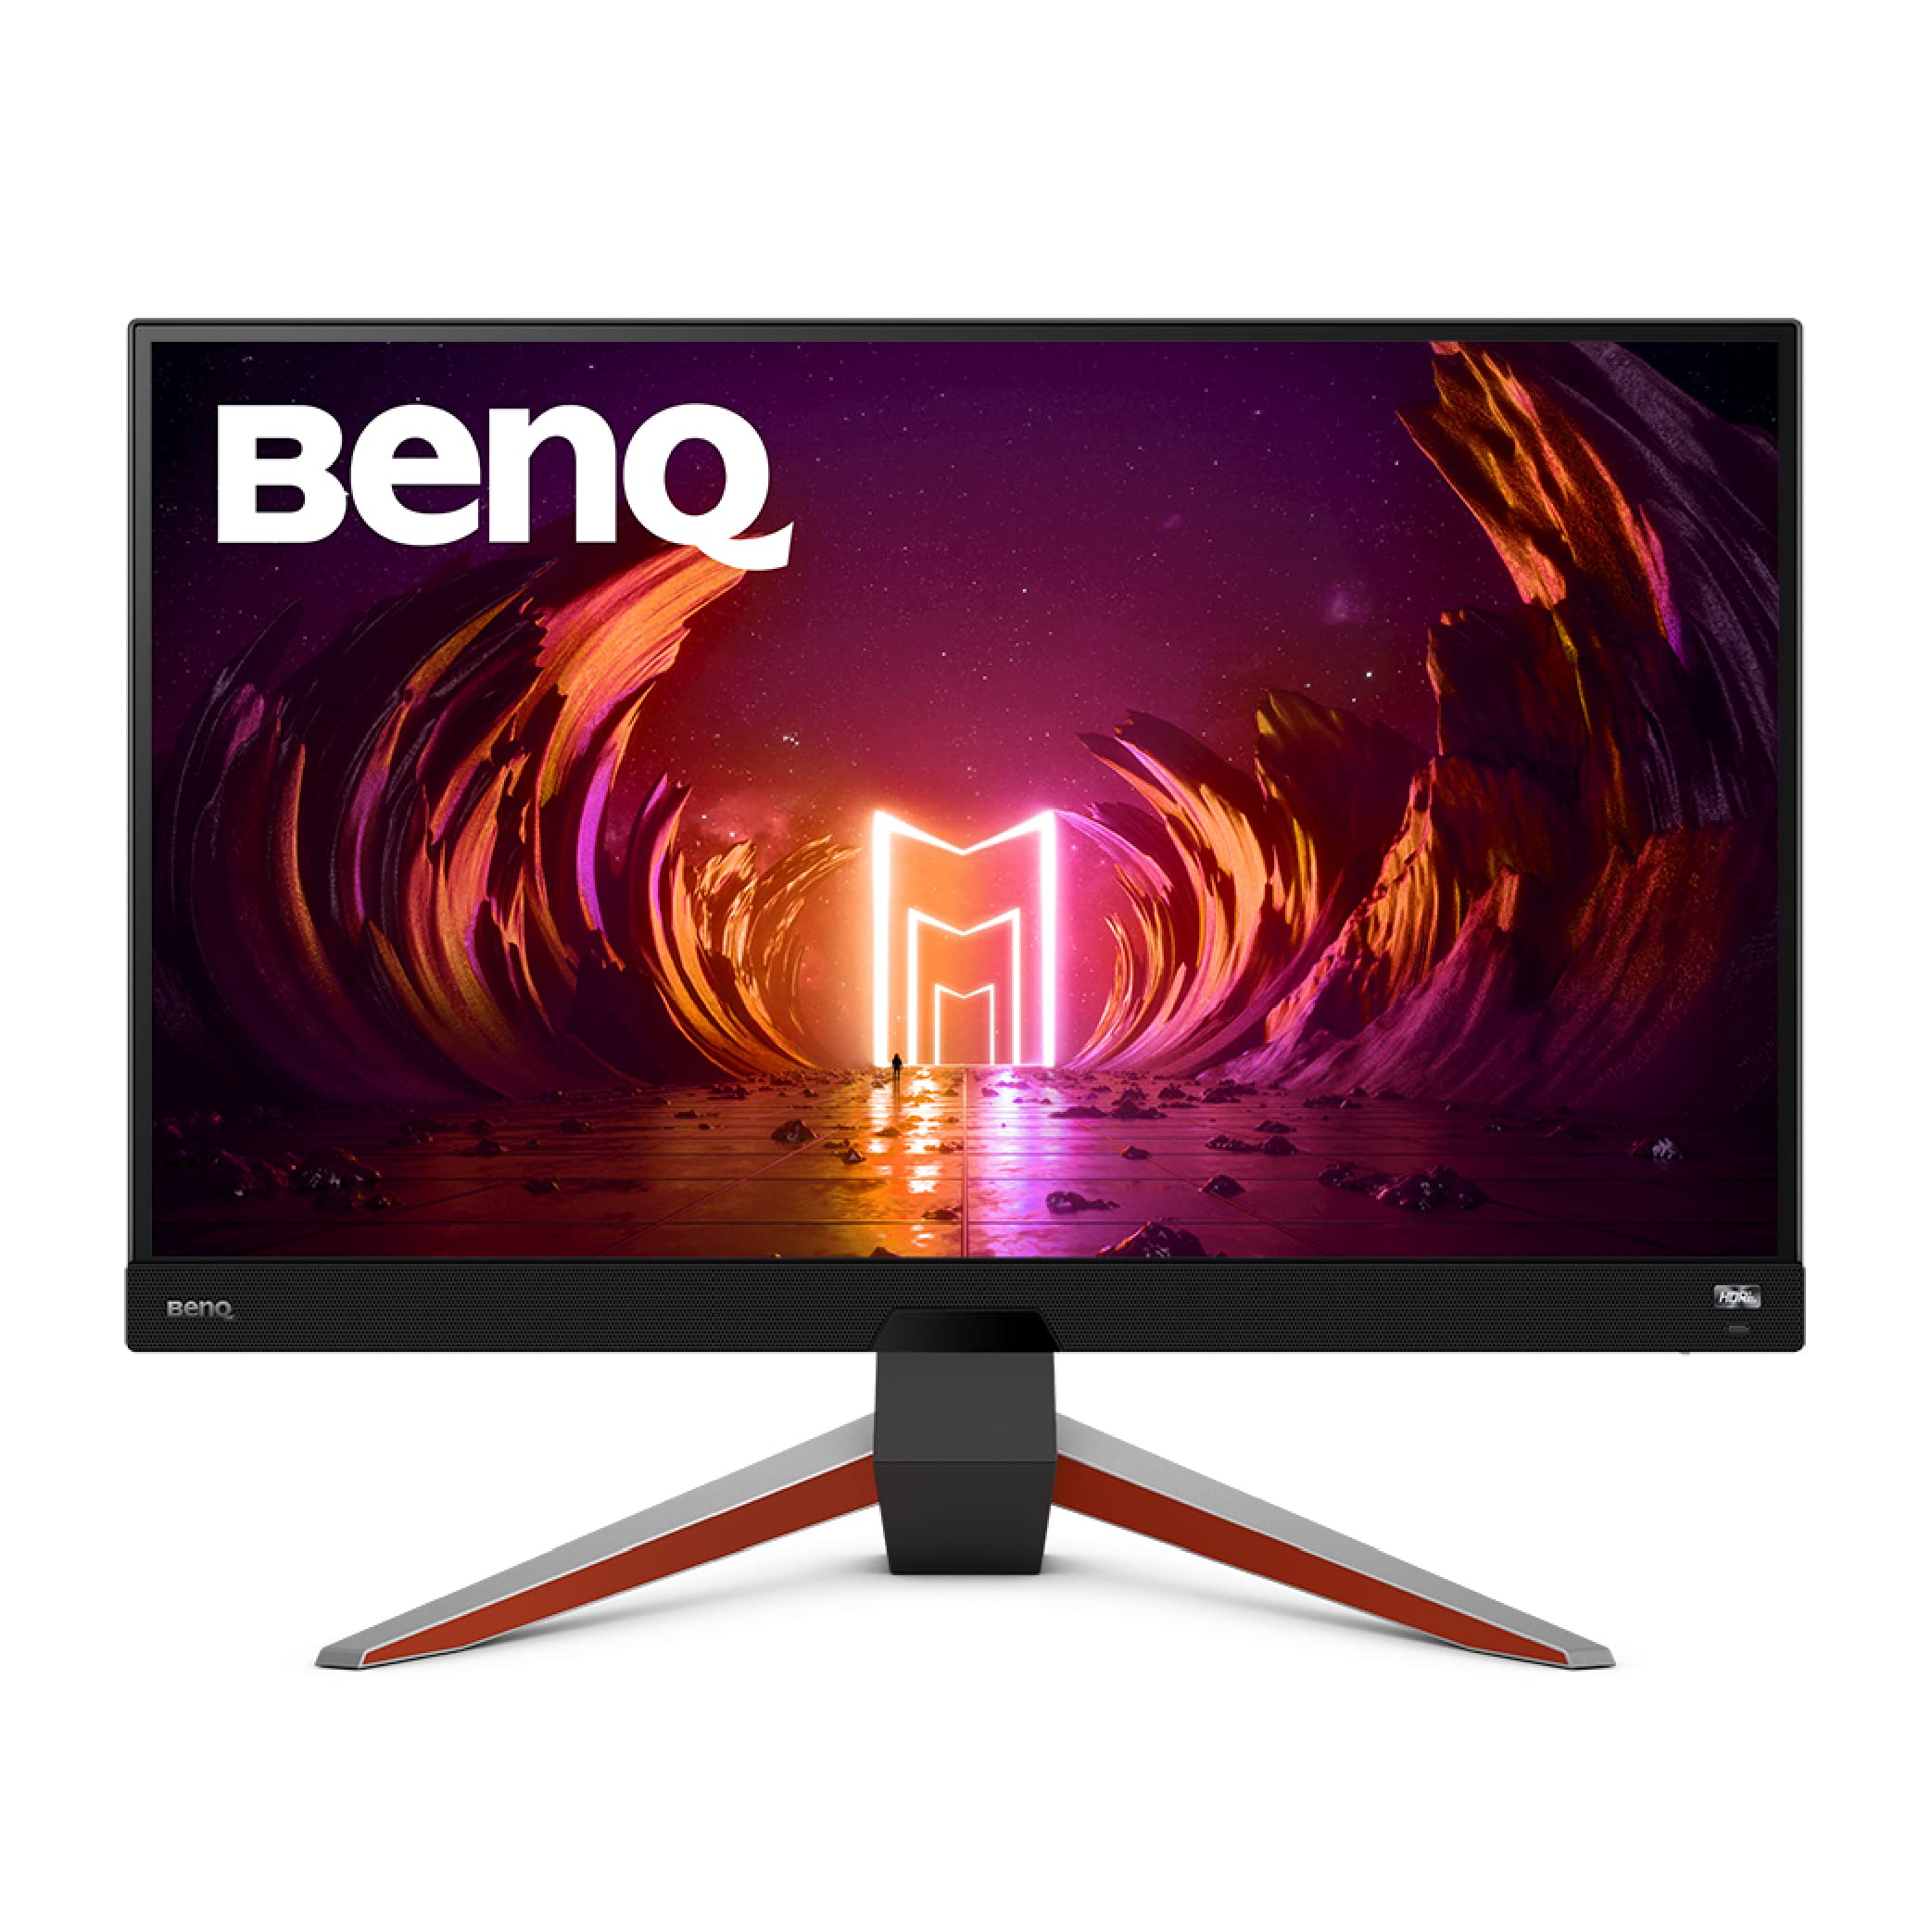
As an Amazon Associate, we may earn from qualifying purchases.
Optimize Windows and game settings
To get the most from your Best Refresh Rates for Gaming setup, software configuration is just as important as the hardware. Even a high-end monitor feels sluggish if Windows or your games are holding it back. These tweaks ensure your GPU delivers frames as fast as your panel can display them.
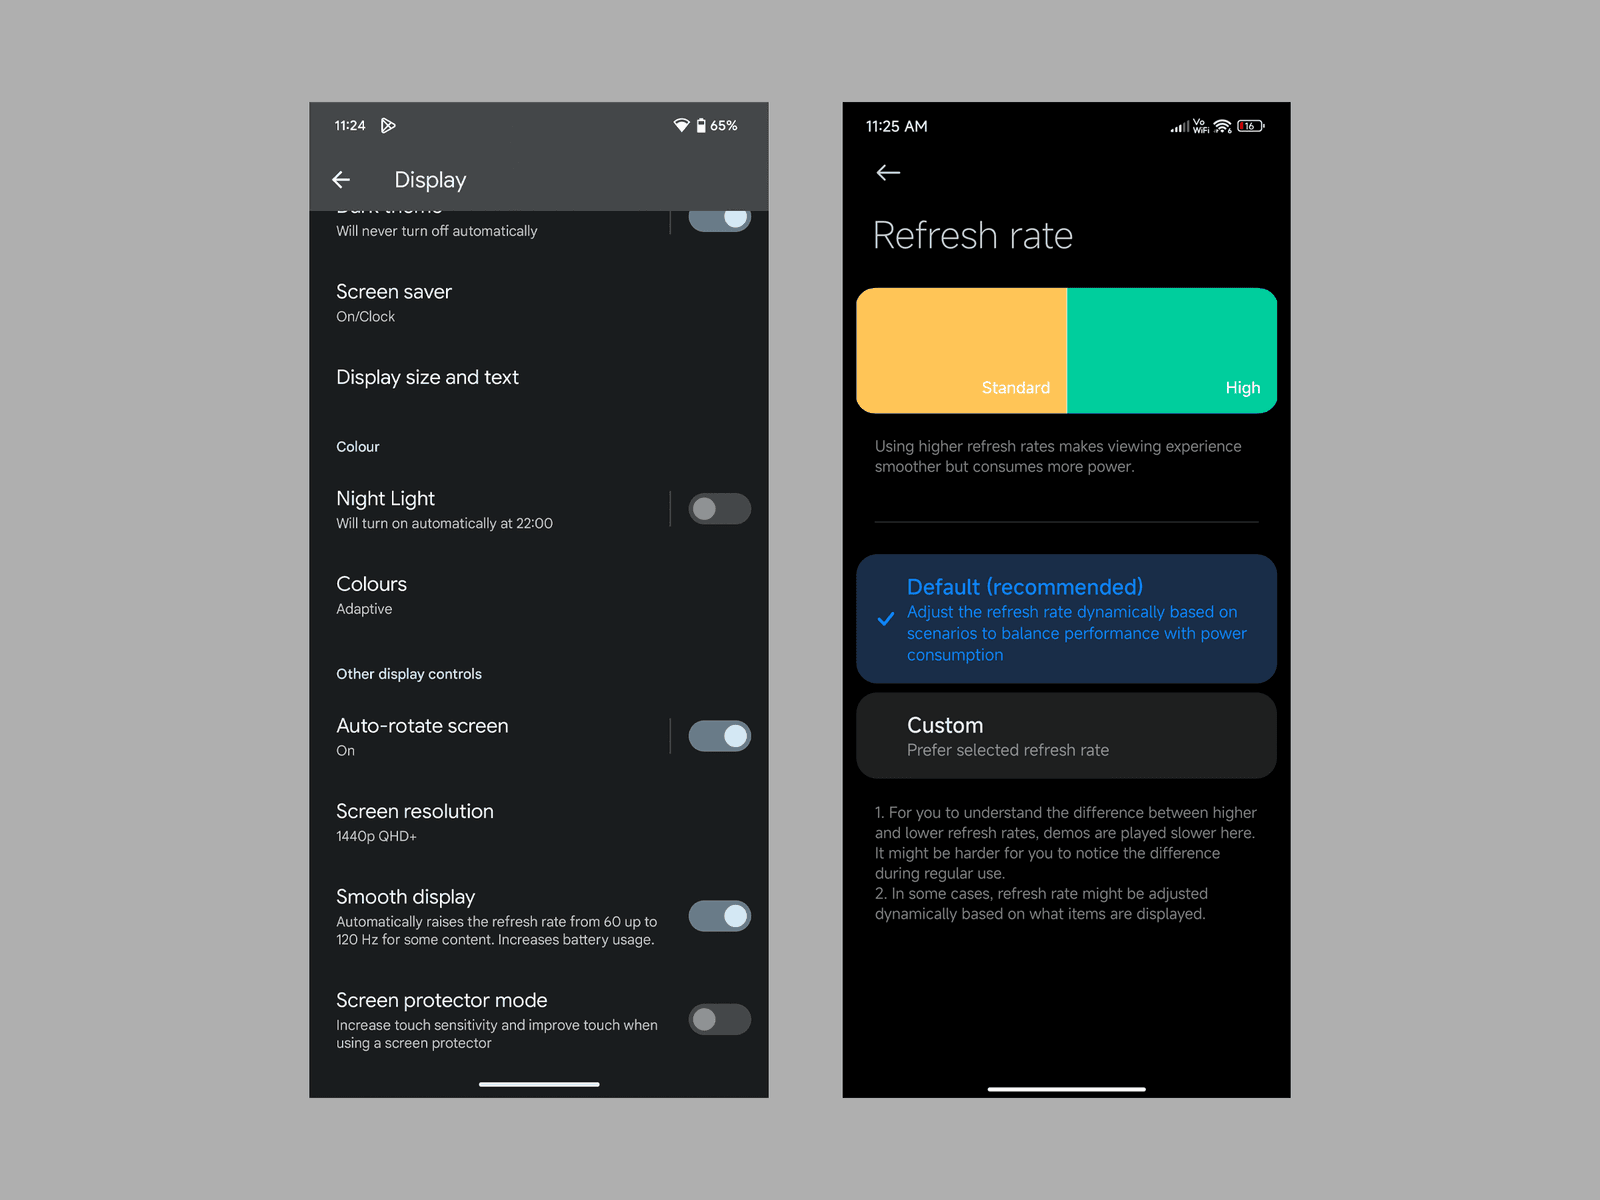
Start by enabling Windows Game Mode. This feature prioritizes your game for system resources and prevents background updates from interrupting your session. Next, check your display settings to confirm Windows is set to the monitor’s maximum refresh rate. Many monitors default to 60Hz out of the box, so verify this in Display Settings > Advanced Display.
Inside your games, V-Sync is often the enemy of smooth motion. While it eliminates screen tearing, it also introduces input lag and caps your frame rate. Turn V-Sync off in your game’s video settings. If you experience tearing, enable G-Sync or FreeSync (VRR) instead, which syncs the monitor to the GPU dynamically without the lag penalty.
Open your game’s settings menu, navigate to Video or Graphics options, and set V-Sync to Off. This reduces input lag significantly.

Press Windows + I, go to Gaming > Game Mode, and toggle it On. This helps manage background processes more efficiently.

Right-click the desktop, select Display settings, scroll to Advanced display, and ensure the refresh rate matches your monitor’s max spec (e.g., 144Hz or 240Hz).
-
Disable V-Sync in all games
-
Enable Windows Game Mode
-
Set correct refresh rate in Display Settings
-
Enable G-Sync/FreeSync if supported
Frequently asked questions about refresh rates
Understanding how refresh rates interact with your hardware and game genres helps you avoid overspending or bottlenecking your system. Here are the most common questions about choosing the Best Refresh Rates for Gaming.
No comments yet. Be the first to share your thoughts!