

Check the setup requirements
Before you install a 240Hz monitor, you need to ensure your entire signal chain can handle the bandwidth. A high refresh rate is only as good as the hardware pushing the frames. If any link in the chain bottlenecks, you will see stuttering, screen tearing, or be stuck at a lower refresh rate.
Verify your GPU output
Your graphics card must support the resolution and refresh rate combination you want. Most modern GPUs handle 1080p at 240Hz easily. For 1440p or 4K, check the specific model’s specifications. NVIDIA and AMD both list supported maximum refresh rates on their product pages. If your GPU is several years old, it might lack the necessary DisplayPort version or HDMI specification.
Match the cable type
Not all cables are created equal. For 240Hz at 1440p or 4K, you typically need DisplayPort 1.4 or higher. HDMI 2.1 is also capable of high refresh rates, but older HDMI cables may not support the required bandwidth. Using an old HDMI 1.4 cable will likely cap you at 60Hz or 120Hz depending on resolution. Look for cables labeled "High Speed" or "Ultra High Speed" to ensure they meet current standards.
Check your PC’s frame output
A monitor can only refresh as fast as your PC sends frames. If your GPU is only delivering 100 frames per second (FPS) in a game, a 240Hz monitor won’t make the gameplay smoother. You need a powerful enough system to maintain high FPS in competitive titles like Valorant, CS2, or Overwatch 2. Use a tool like CapFrameX or MSI Afterburner to monitor your average FPS in your target games.
Confirm OS and driver settings
Windows and your GPU drivers must be configured to output the high refresh rate. Sometimes, the monitor is connected correctly, but the OS defaults to 60Hz. You can check and change this in Windows Display Settings under "Advanced display." Ensure your GPU control panel (NVIDIA Control Panel or AMD Adrenalin) is set to the correct refresh rate and color depth.
-
GPU supports target resolution and refresh rate
-
DisplayPort 1.4 or HDMI 2.1 cable used
-
OS display settings set to 240Hz
-
GPU drivers updated to latest version
-
System delivers high FPS in target games
Configure it in order
Getting the most out of a 240Hz monitor requires more than just plugging it in. Most displays default to 60Hz or 120Hz out of the box to ensure compatibility with older graphics cards. To see the full benefit of 240Hz for competitive gaming, you need to manually override these defaults in your operating system and GPU control panel. Follow this sequence to ensure your system pushes the maximum frame rate your hardware can deliver.
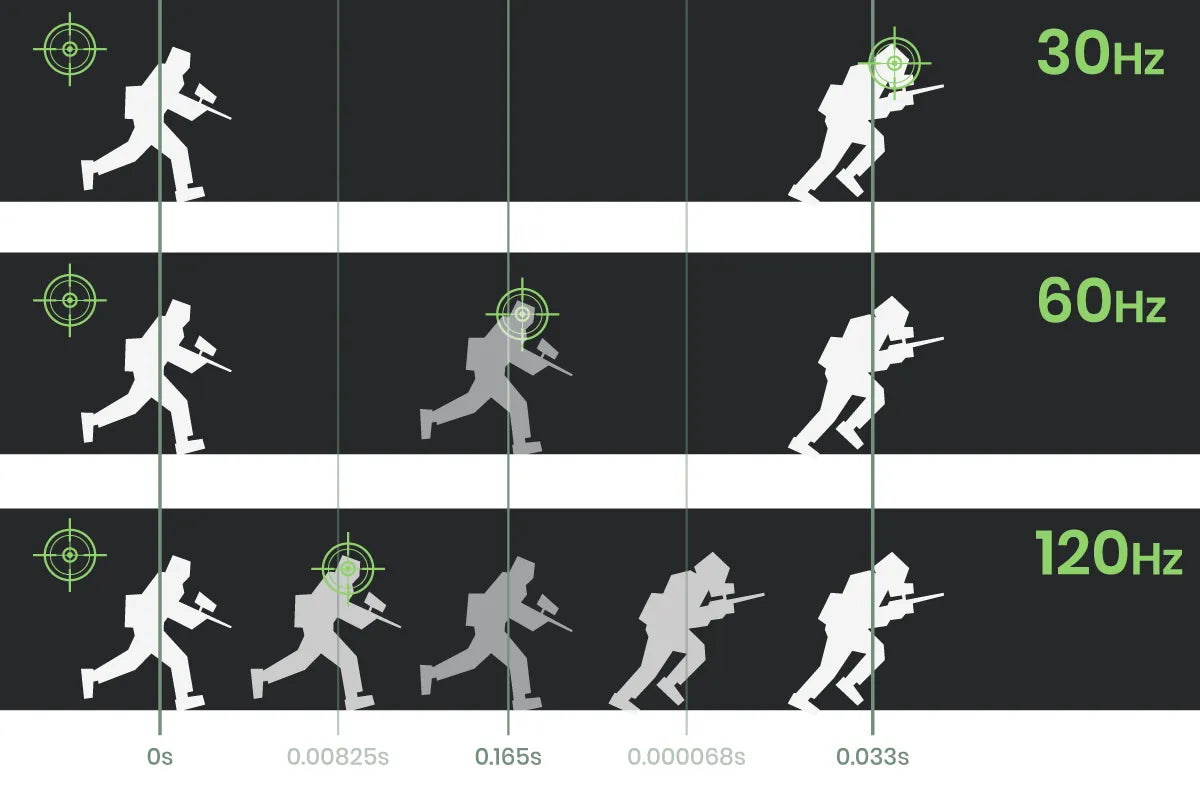
Navigate to your system’s display settings. On Windows, right-click the desktop and select Display settings, then scroll to Advanced display. Click the dropdown under Choose a refresh rate and select 240Hz. If 240Hz is not listed, your cable or port is likely limiting the bandwidth. On macOS, go to System Settings > Displays and hold the Option key to reveal higher refresh rate options if available.
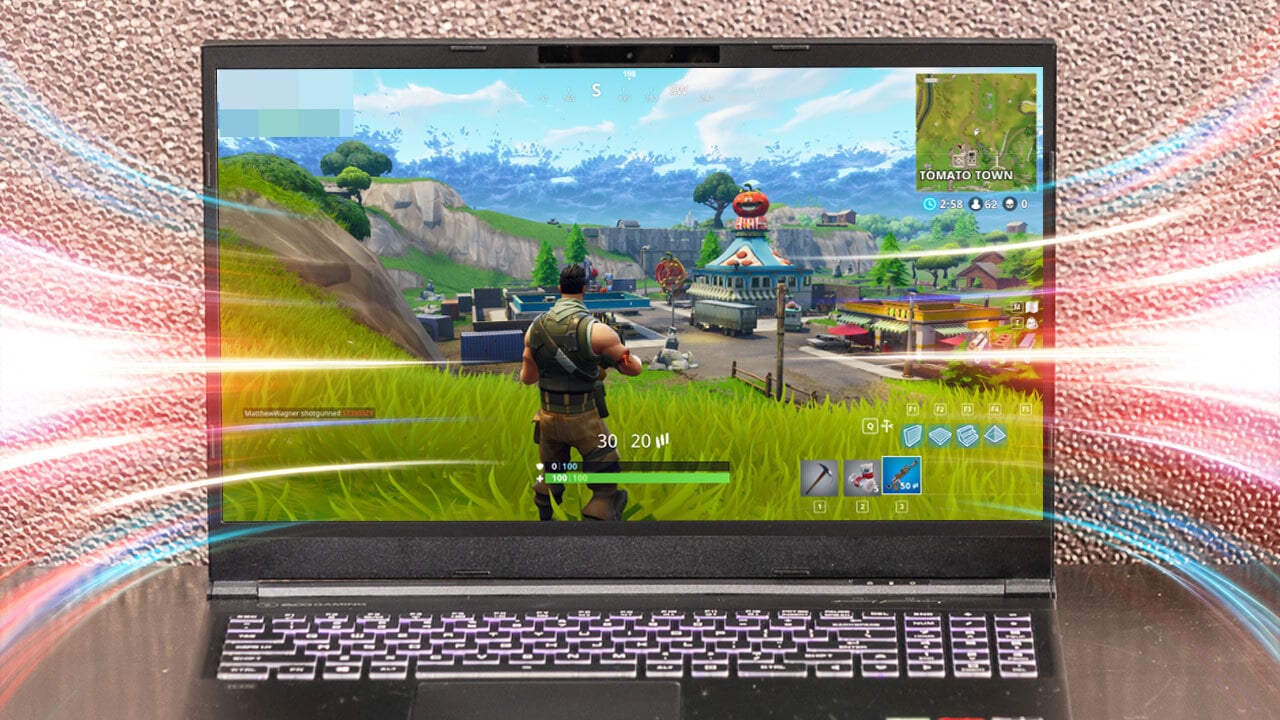
Open your graphics driver software (NVIDIA Control Panel or AMD Adrenalin). Look for the display or resolution settings section. Ensure the refresh rate is explicitly set to 240Hz and not left on "Default" or "Recommended." In NVIDIA Control Panel, under Change resolution, verify that the Refresh rate is set to 240Hz. This step ensures the GPU is not downscaling the signal for compatibility reasons.
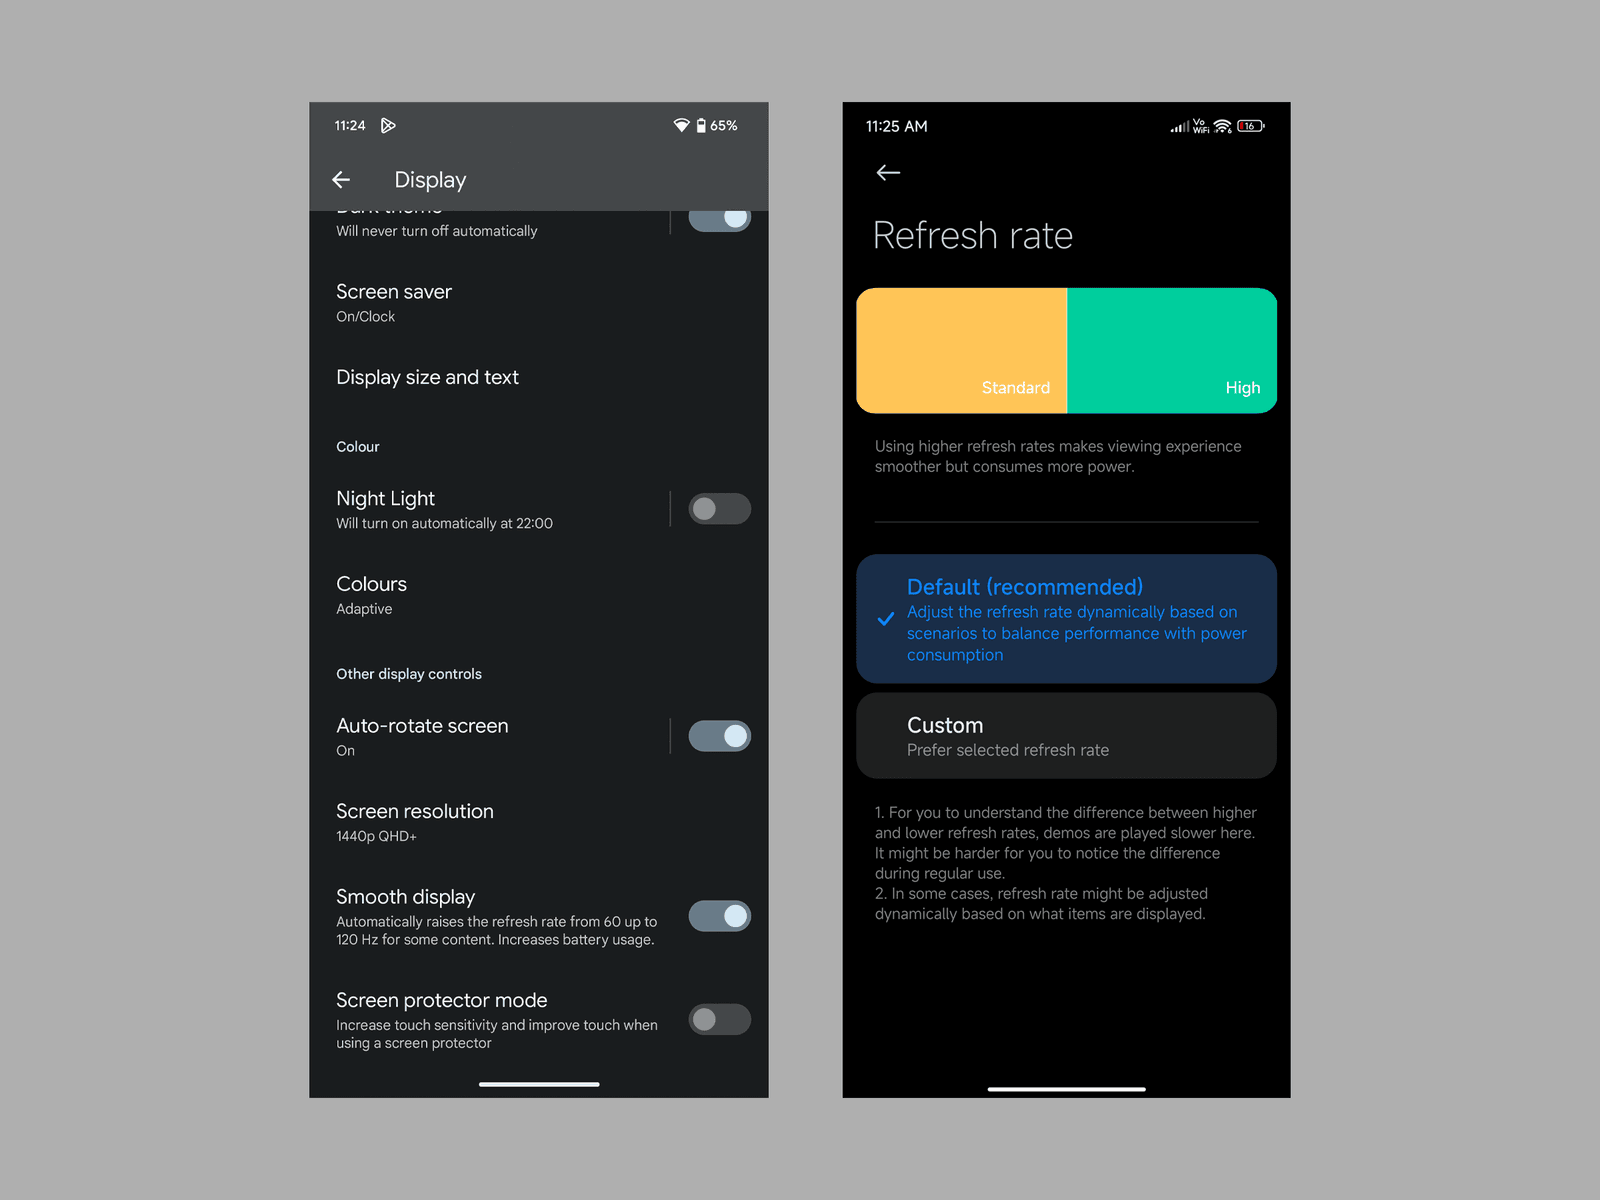
Outdated drivers often fail to support the latest high-refresh-rate protocols. Visit NVIDIA, AMD, or Intel’s official website to download the latest stable drivers. Avoid beta drivers unless you are troubleshooting a specific issue. After installation, restart your computer to ensure the new driver layer is fully active and communicating with the monitor’s firmware.
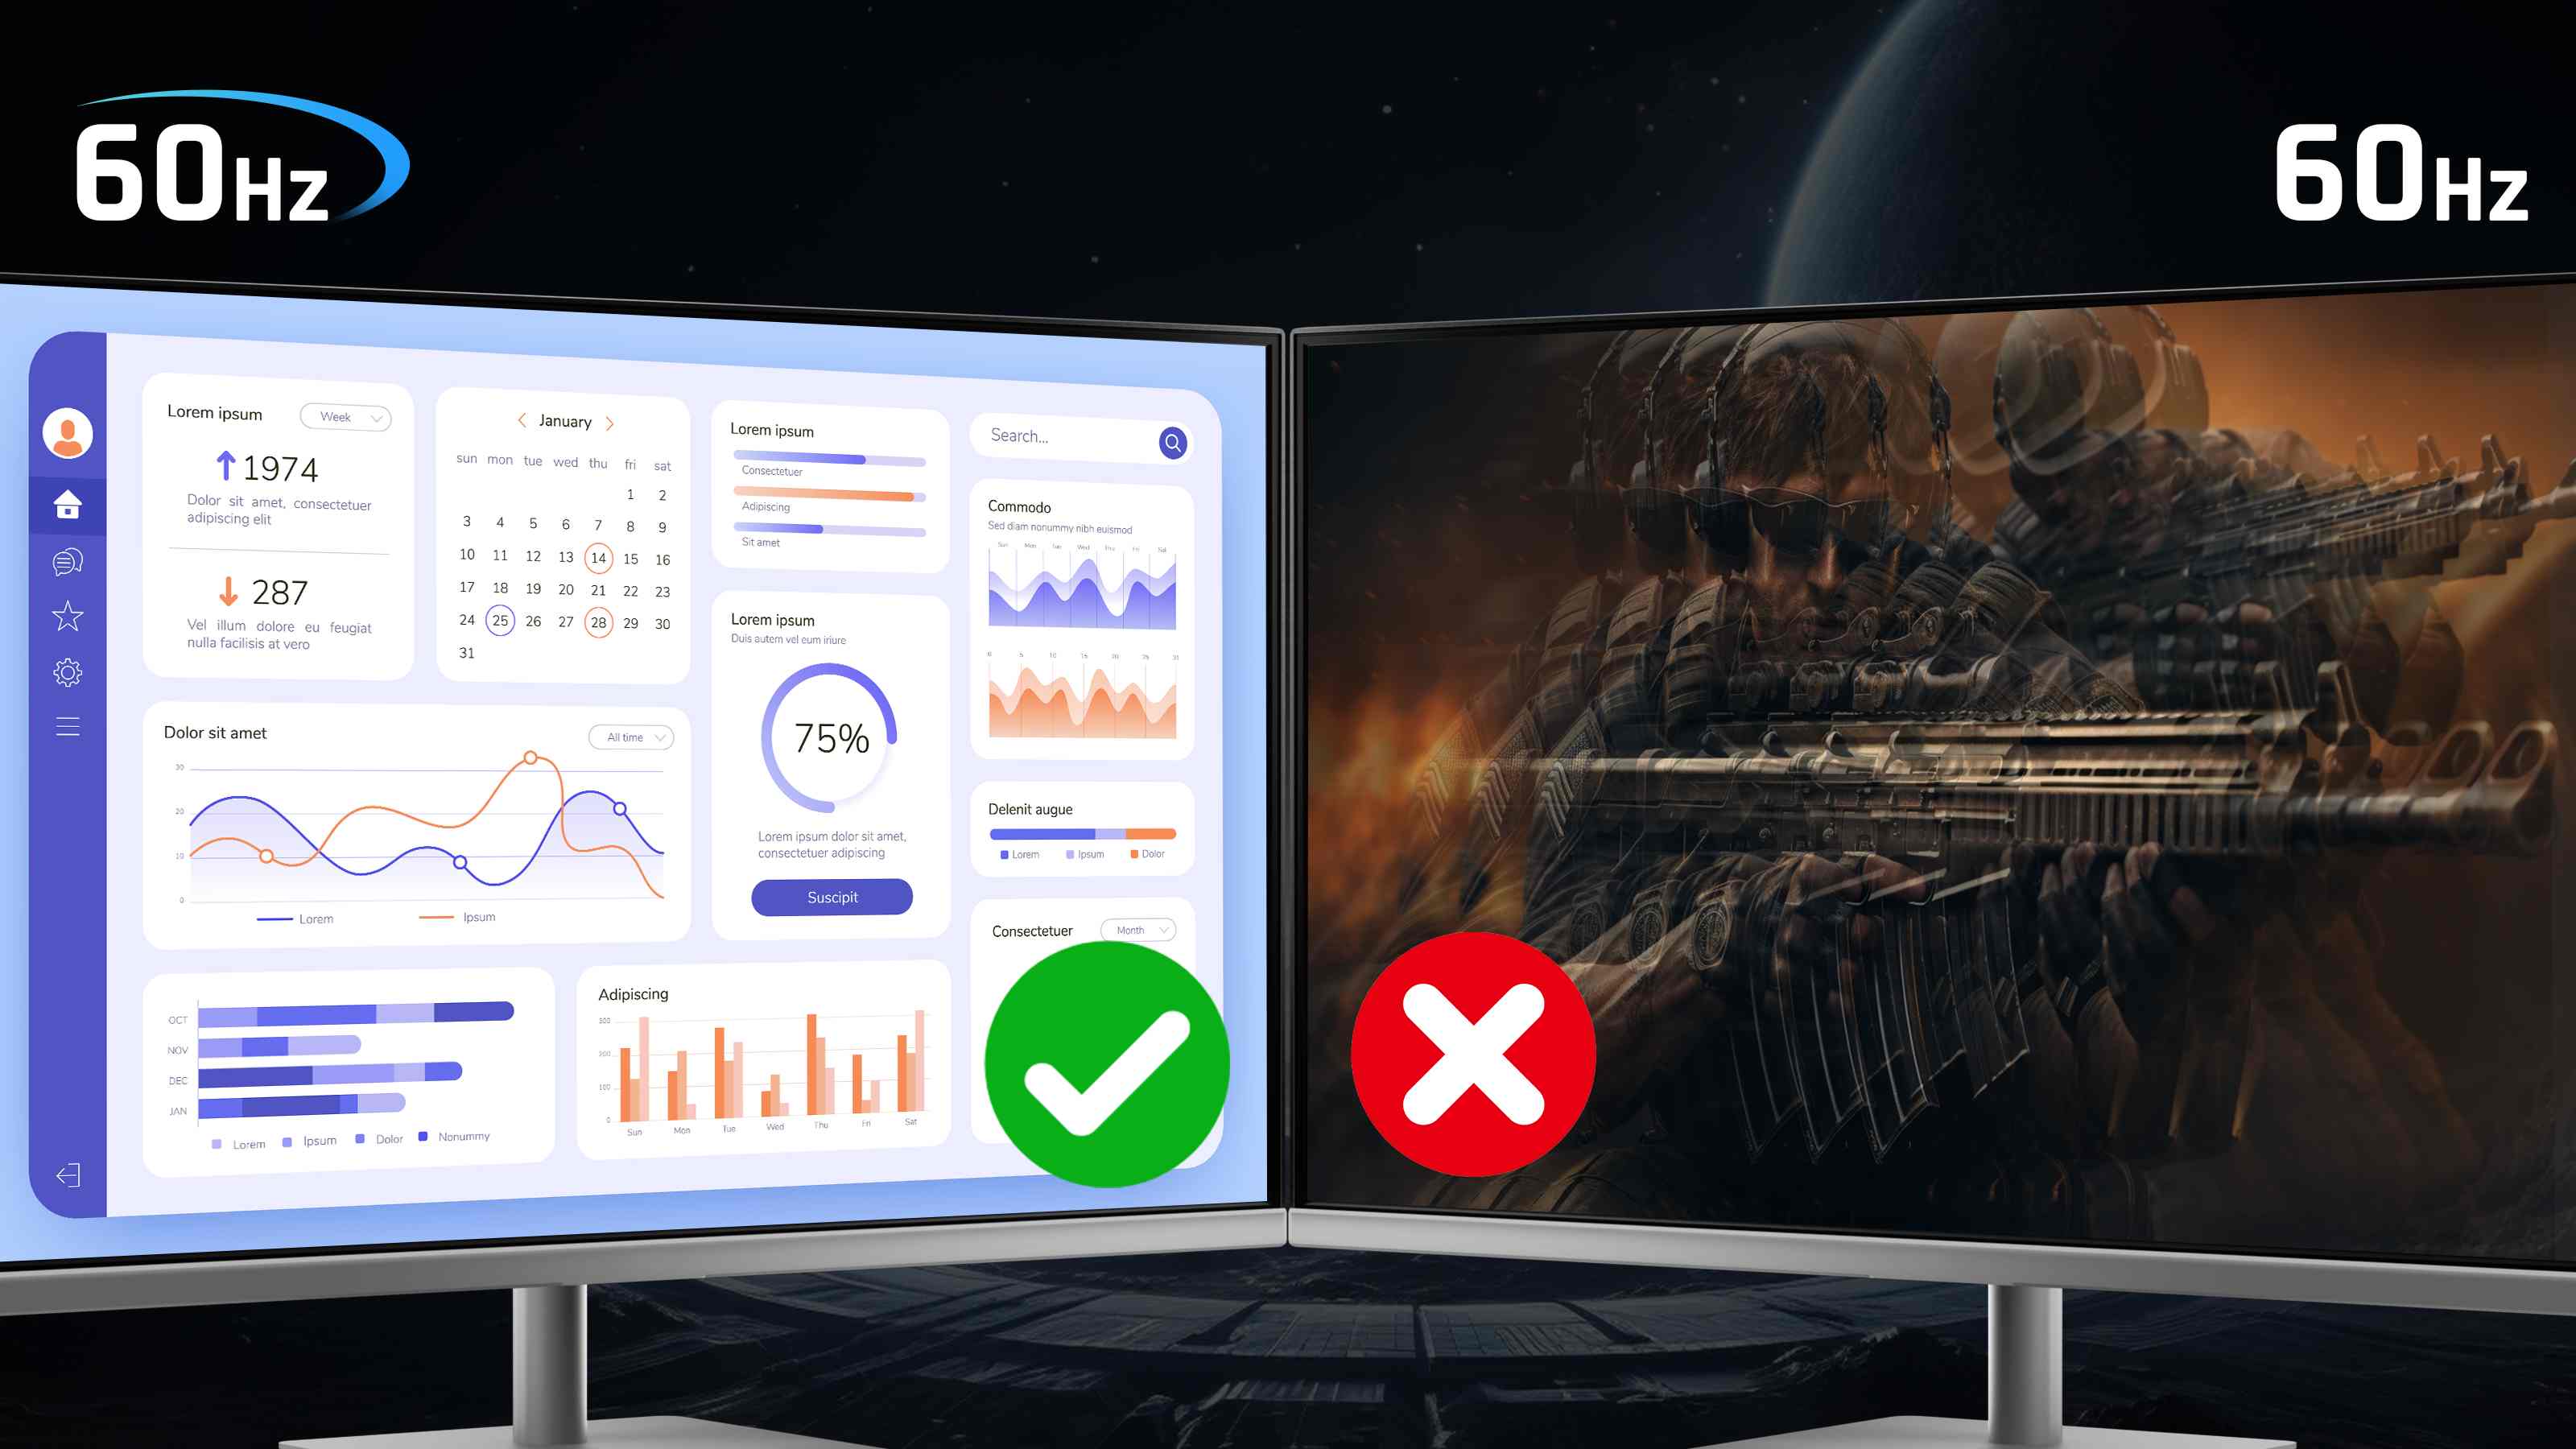
A 240Hz signal at high resolutions requires significant bandwidth. Use a certified DisplayPort 1.4 cable for the most reliable connection. HDMI 2.1 can also support 240Hz, but older HDMI 2.0 ports are often limited to 144Hz at 1080p or 60Hz at 1440p. If you are forced to use HDMI, ensure both your GPU and monitor support HDMI 2.1. Avoid using adapters or docking stations, as they frequently bottleneck the signal.
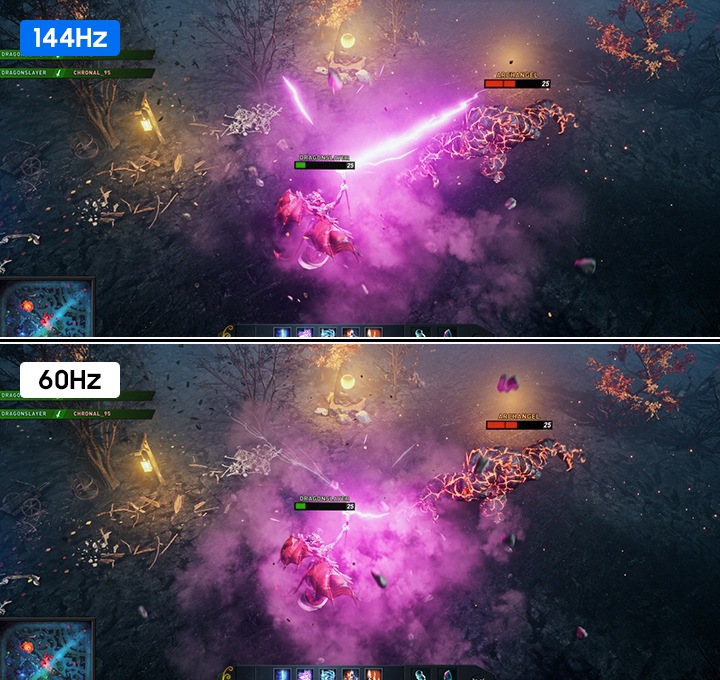
Install a lightweight overlay tool like MSI Afterburner with RivaTuner Statistics Server or the built-in FPS counter in Steam. Launch a fast-paced game or a benchmark tool like Unreal Engine 5 Demo. Verify that your average FPS is consistently above 240. If your frames drop significantly below 240, the monitor will not display a smoother image than 144Hz, regardless of the settings. Lower in-game graphics settings to maintain the target frame rate.


As an Amazon Associate, we may earn from qualifying purchases.
Mistakes That Break the Setup
Even with a 240Hz monitor, your competitive edge vanishes if the signal chain is broken. These errors are common because they require checking multiple devices, but each one creates latency or visual artifacts that hurt performance.
Using the Wrong Cable
Most users plug in HDMI cables that are rated for older standards. A standard HDMI 2.0 cable caps out at 144Hz at 1080p. To hit 240Hz, you need a cable rated for HDMI 2.1 or DisplayPort 1.4. Using an underspecified cable forces the monitor to drop the refresh rate or introduces screen tearing. Check the cable packaging for "High Speed" or "Ultra High Speed" labels. If it’s just a generic cable from a TV box, replace it.
Forgetting to Change the OS Refresh Rate
Plugging in a 240Hz monitor doesn’t automatically set Windows to 240Hz. By default, the OS often defaults to 60Hz to ensure compatibility. You must manually select the higher rate in Settings > System > Display > Advanced display. If the option for 240Hz isn’t listed, check your cable connection or GPU drivers. This step is critical; without it, you’re paying for performance you aren’t using.
Ignoring GPU Bottlenecks
A 240Hz monitor demands 240 frames per second to stay smooth. If your GPU can only push 100 FPS in your target game, the monitor will display duplicate frames, negating the benefit. Lower your in-game graphics settings until your frame rate consistently exceeds the monitor’s refresh rate. Use the NVIDIA GeForce Experience or AMD Adrenalin overlay to monitor real-time FPS. If you’re capped at 120 FPS, the 240Hz advantage is wasted.
Not Calibrating Mouse Sensitivity
Higher refresh rates make mouse movement feel faster and more precise. If you keep your old DPI and in-game sensitivity, your aim will feel erratic. Reduce your sensitivity by 20-30% to match the new fluidity. This adjustment prevents over-aiming and helps you track targets more accurately. Test this in a practice range before jumping into ranked matches.
Refresh rates for gaming: what to check next
Here are the most common practical questions about gaming refresh rates, answered with direct comparisons and setup advice.
No comments yet. Be the first to share your thoughts!